How to adjust your backpack for the perfect fit: 3 easy steps
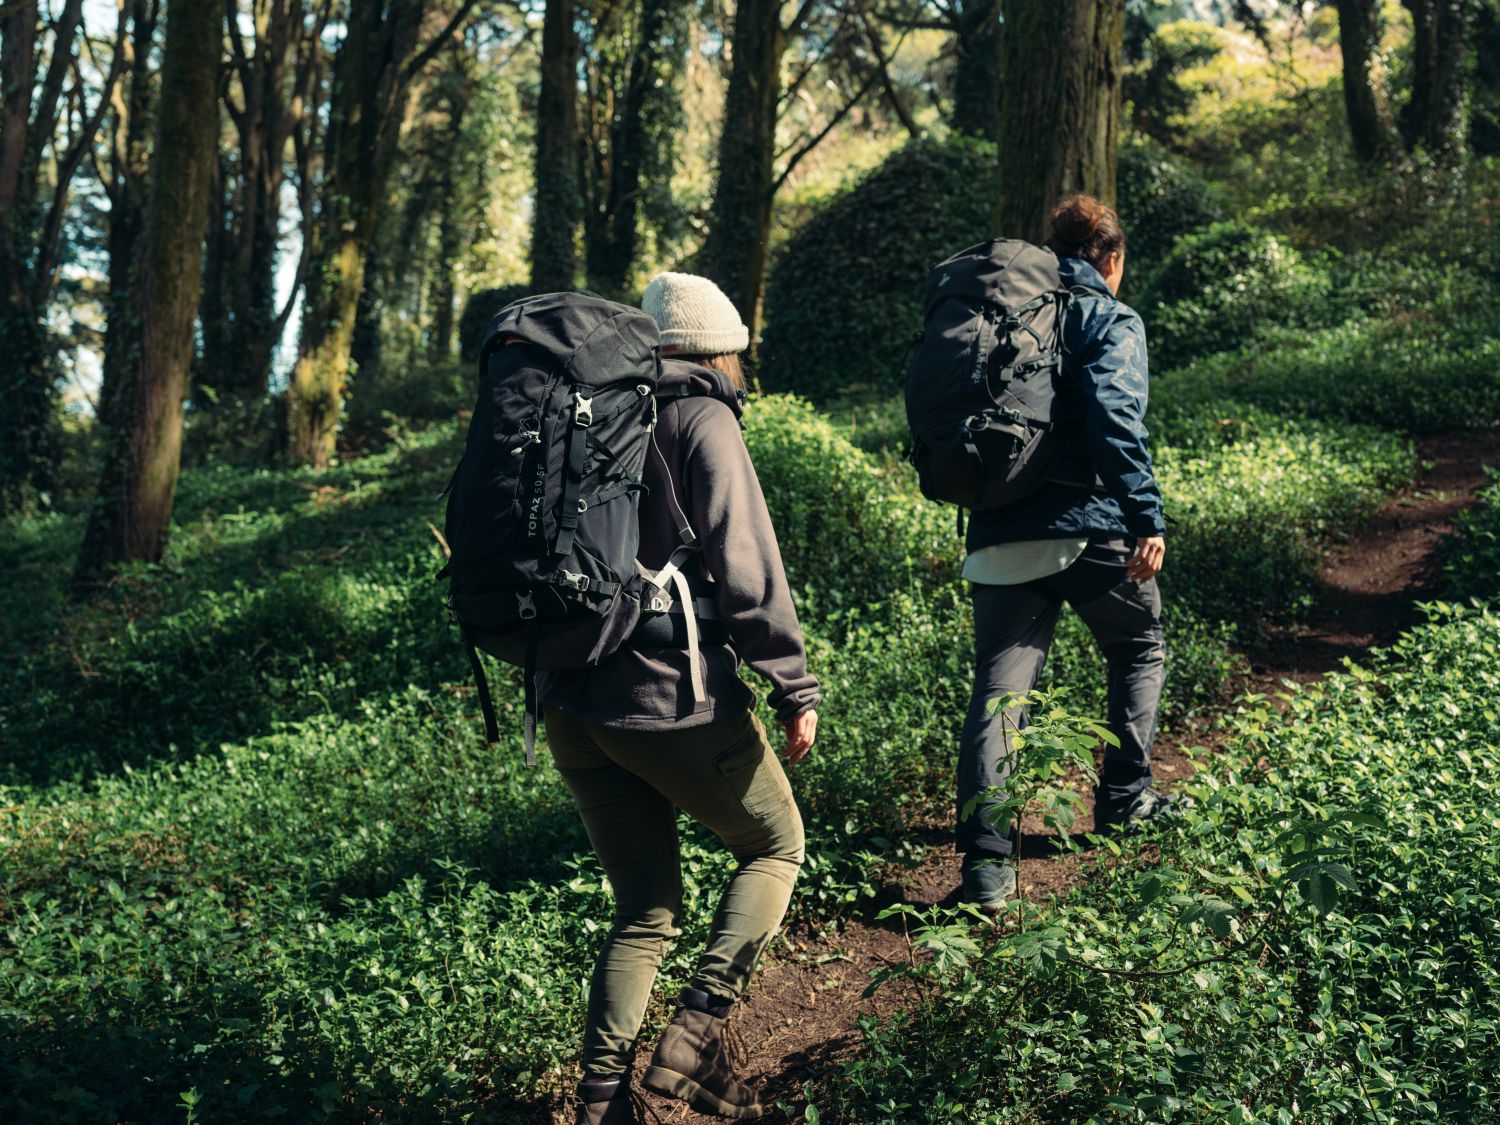
Packing your backpack efficiently, stocking up on travel-size toiletries, arranging your visa and insurance, and withdrawing dollars – all essential preparations for your next adventure. But have you considered properly adjusting your backpack? A well-fitted backpack prevents back pain, shoulder strain, and unnecessary fatigue. A little discomfort is part of backpacking, but back pain and sore shoulders shouldn't be!
Backpacks are often adjusted once at purchase and then rarely checked again. However, over time and depending on your load and conditions, fine-tuning your backpack fit can significantly improve comfort. Follow these three simple steps to ensure your backpack fits your body perfectly.
Before adjusting: Preparing your backpack
To find the right backpack fit, first pack your bag properly. An empty backpack feels different from a full one, so make sure the weight is realistically distributed. This way, you can feel the differences in various adjustments and determine what works best for you.
Before adjusting, loosen the straps on the hip belt, shoulder straps, and top lid so they are easier to fine-tune later.
1. Hip belt: The most important support
Travel backpacks and hiking backpacks usually have a hip belt – and for good reason! The hip belt provides stability, supports most of your backpack’s weight, and reduces strain on your shoulders. Once your backpack is packed and all straps are loose, start by adjusting the hip belt.
Position the hip belt so it rests roughly in the middle of your hips. For women the belt should sit slightly higher on the hips, using the prominent hip bones as a reference. For men the belt is usually worn slightly lower, around the hips. Adjust it to your personal comfort, ensuring the backpack sits firmly on your hips while allowing for natural movement.

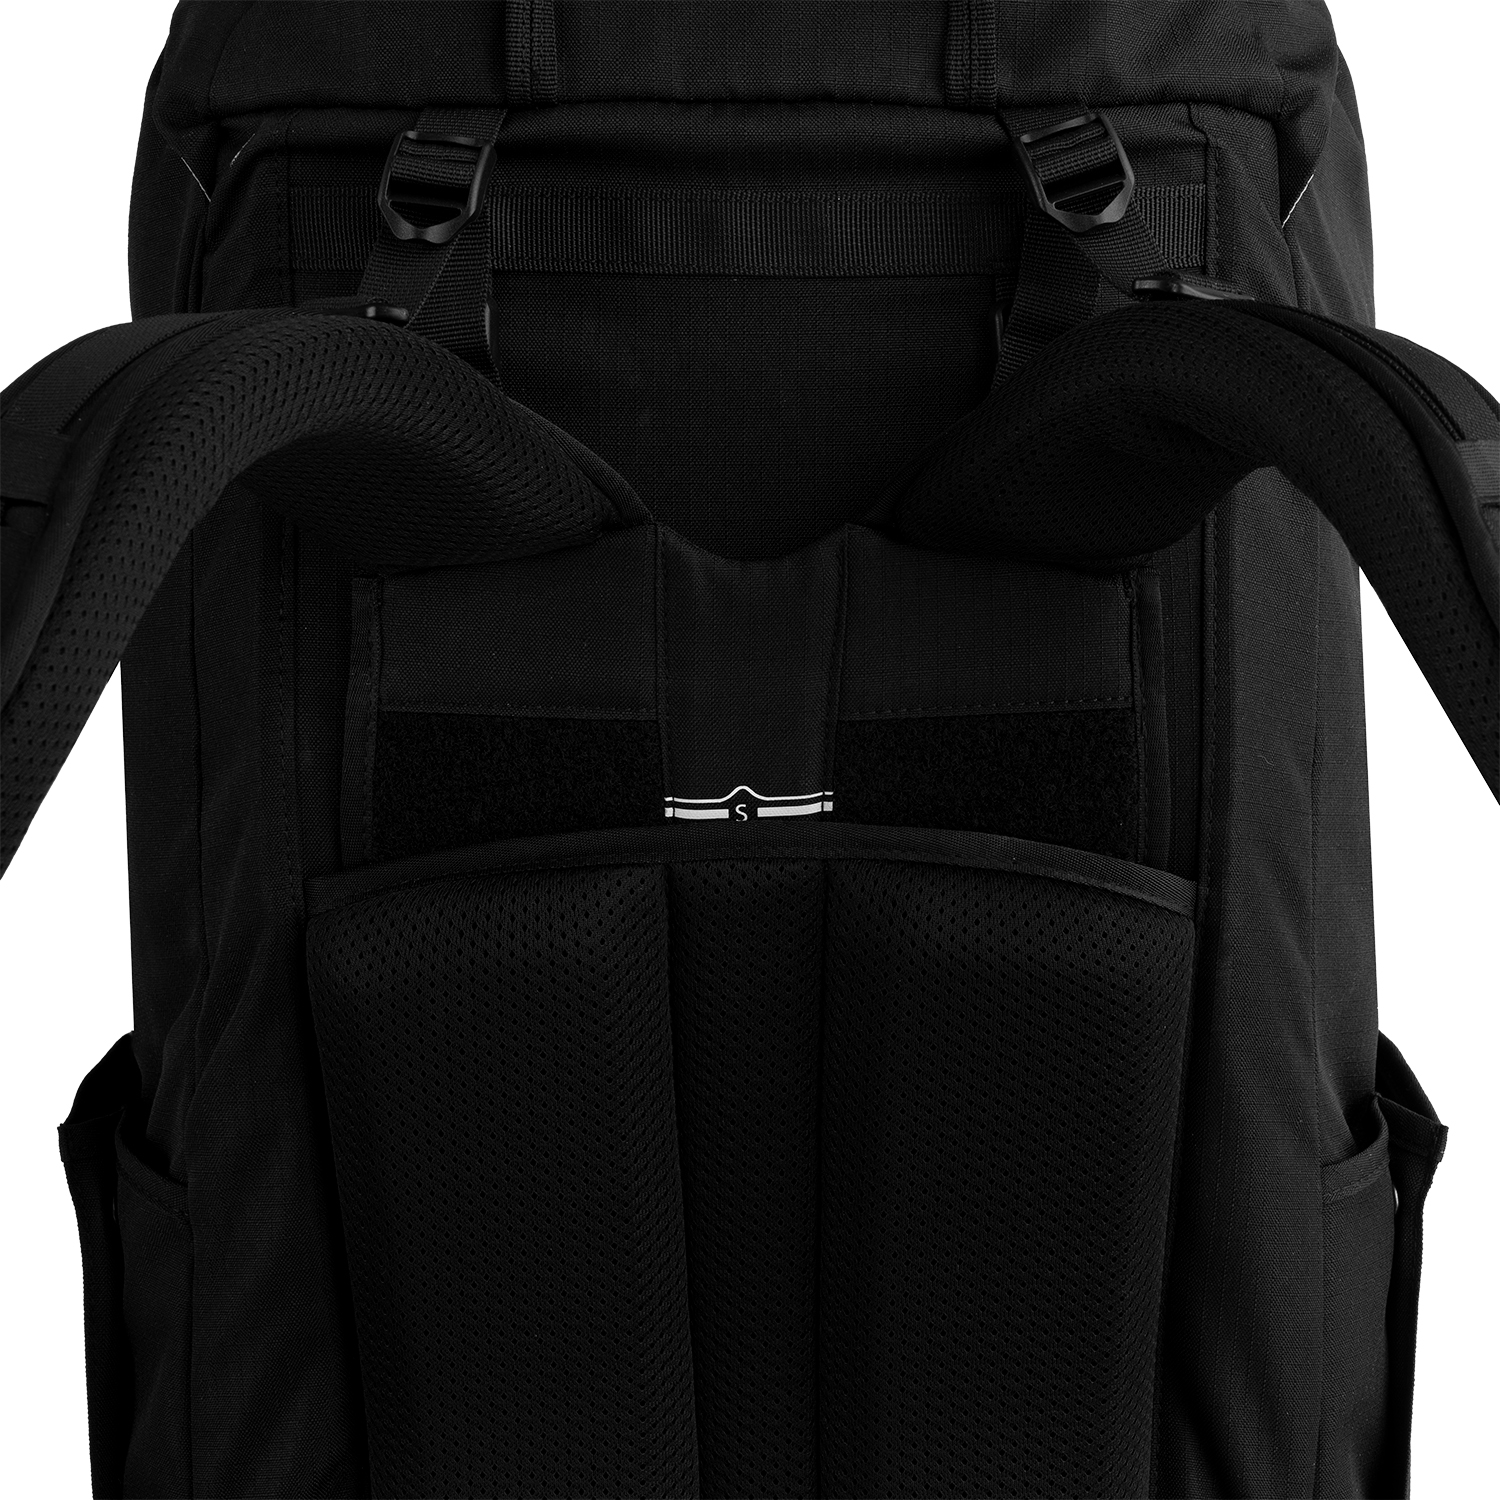
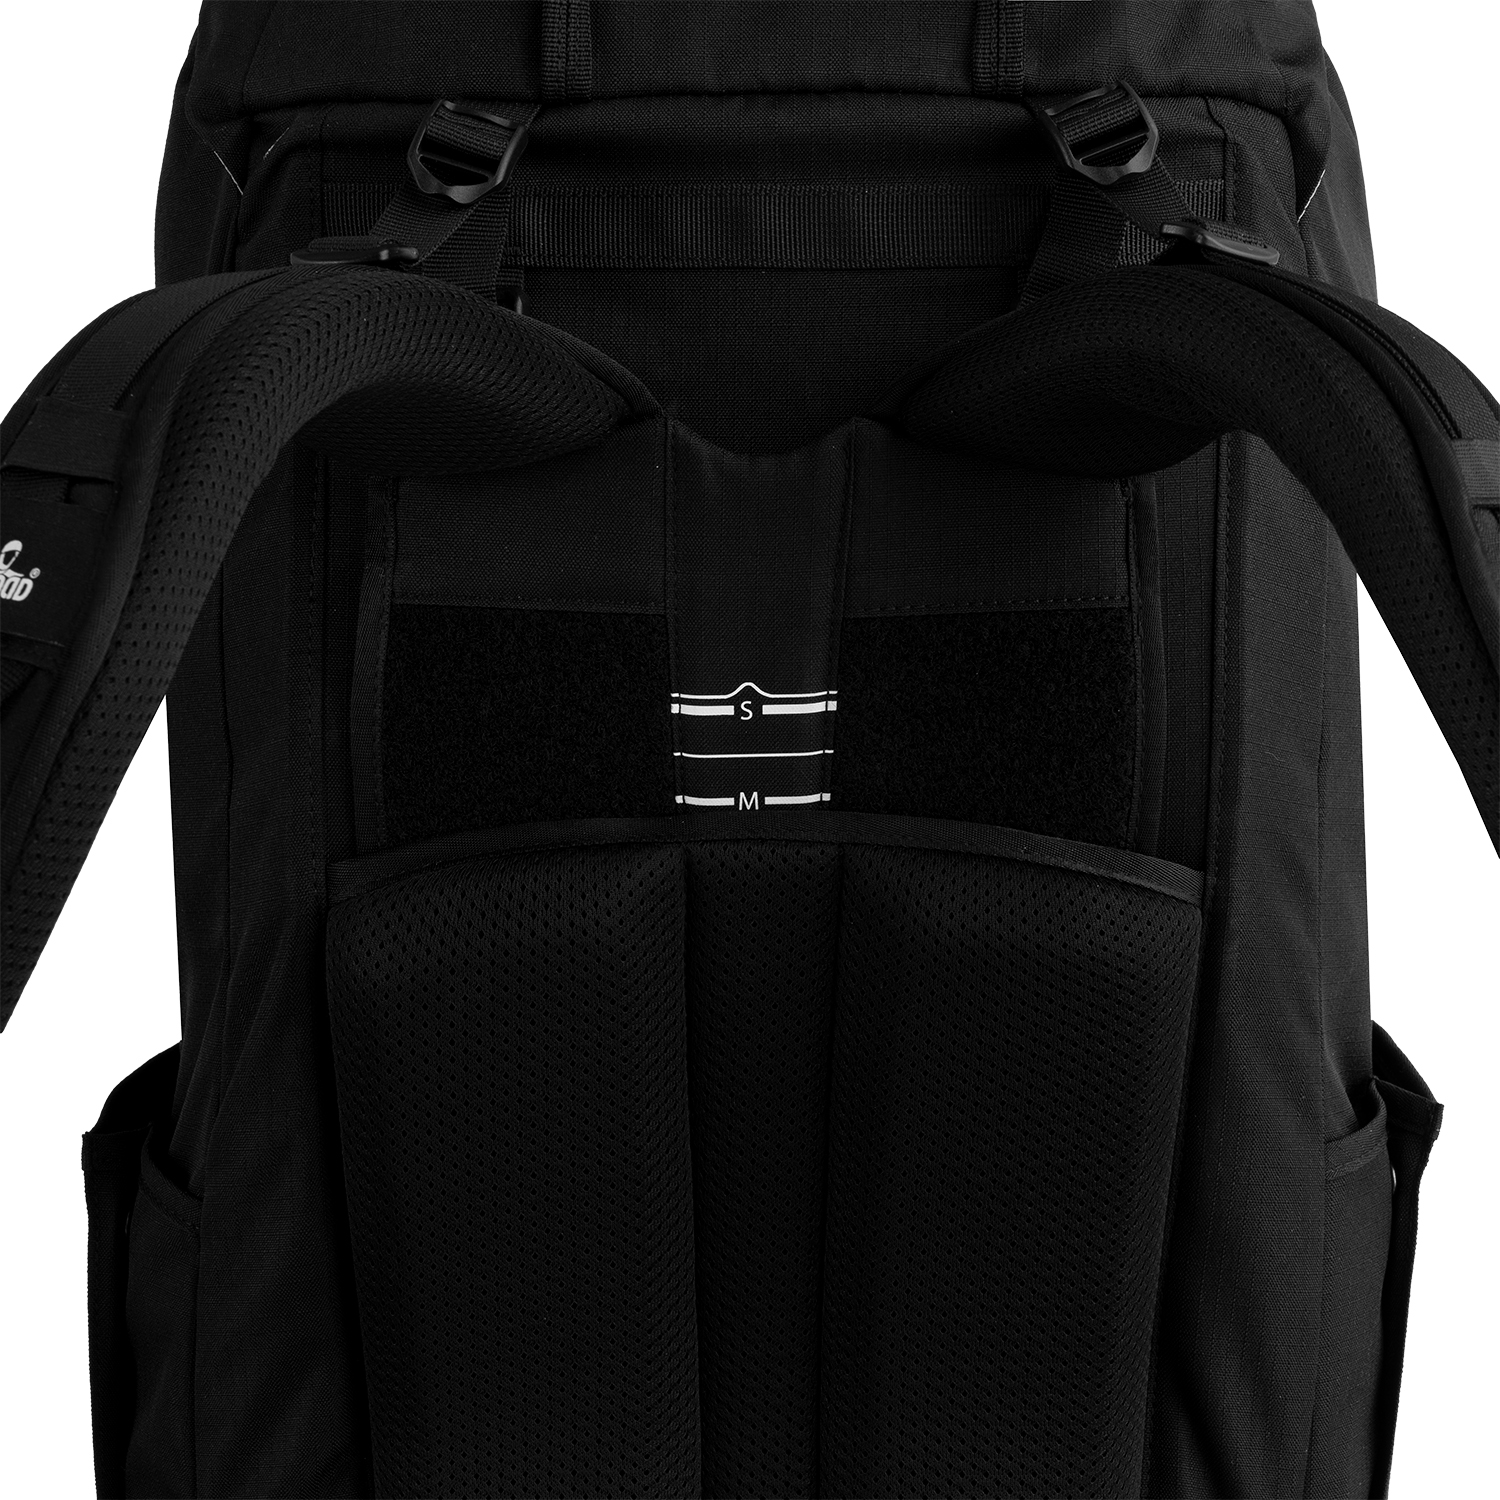
2. Torso length: Customizing the fit
Once your hip belt is properly positioned, you can adjust your torso length. NOMAD travel backpacks feature an adjustable back panel with Velcro, making it easy to customize the length to fit your body.
 |
 |
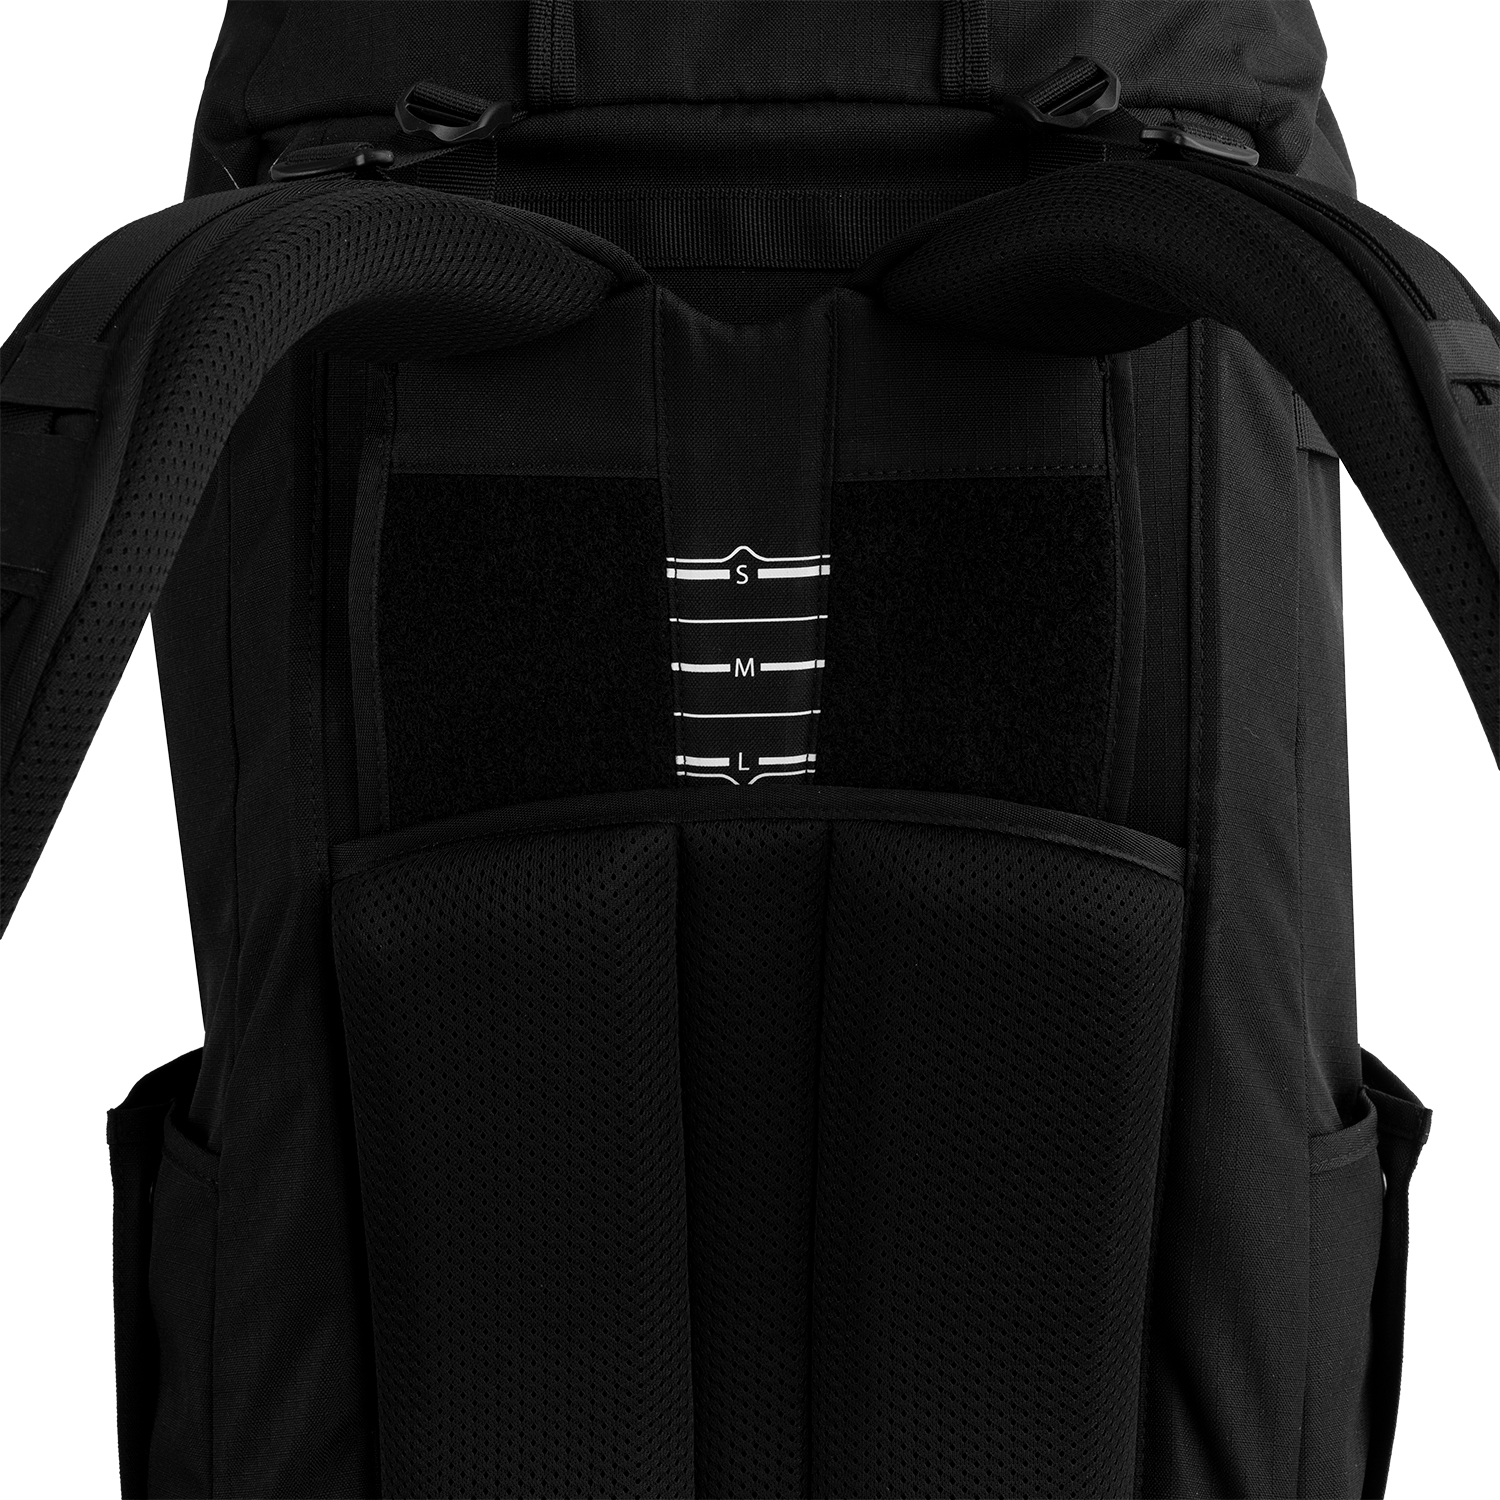 |
How to determine the right torso length?
Experiment with different settings until you find the perfect fit. Pay attention to the following points:
- The attachment point of the shoulder straps to the back panel should be between your shoulder blades.
- The padding of the shoulder straps should comfortably wrap around your shoulders.
3. Shoulder straps: Extra stability and comfort
Finally, adjust the shoulder straps. These straps connect to the bottom of the backpack and should be tightened until the backpack sits securely against your back without causing discomfort. This adjustment may vary depending on weight, terrain (ascending or descending), and clothing (light shirt or thick jacket).
At the top of the shoulder straps, you’ll find 'load lifters' – small straps that pull the upper part of the backpack closer to your body, increasing stability. Adjust these depending on your situation:
- When hiking uphill, tighten them to bring the weight closer to your center of gravity.
- When descending, loosen them slightly to shift the weight backward for better balance.
- Ensure that the buckle of the load lifters sits on the top of the shoulder for the best weight distribution.
The chest strap prevents the shoulder straps from slipping outward. Its height is usually adjustable, allowing you to position it between your sternum and collarbone.
These tips apply to more than just large backpacks! Even smaller daypacks and hiking backpacks benefit from proper adjustments. For compact sport backpacks, the hip belt stabilizes rather than carries the main weight. However, a well-adjusted fit ensures more comfort – no matter what size backpack you use.